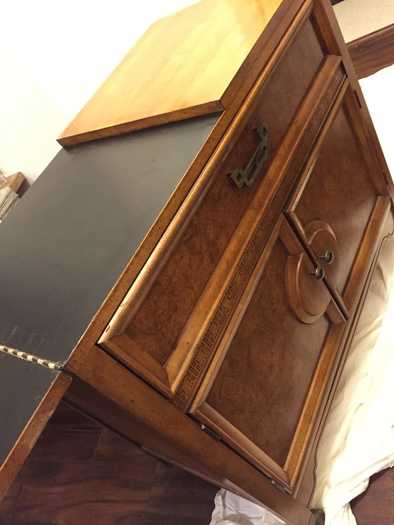
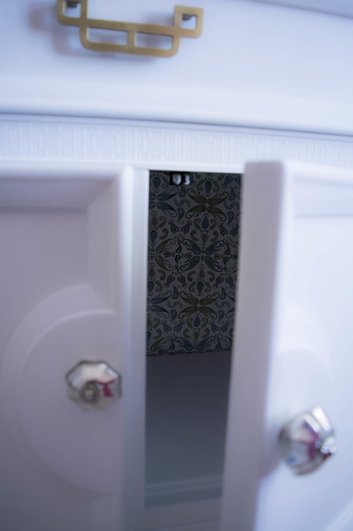
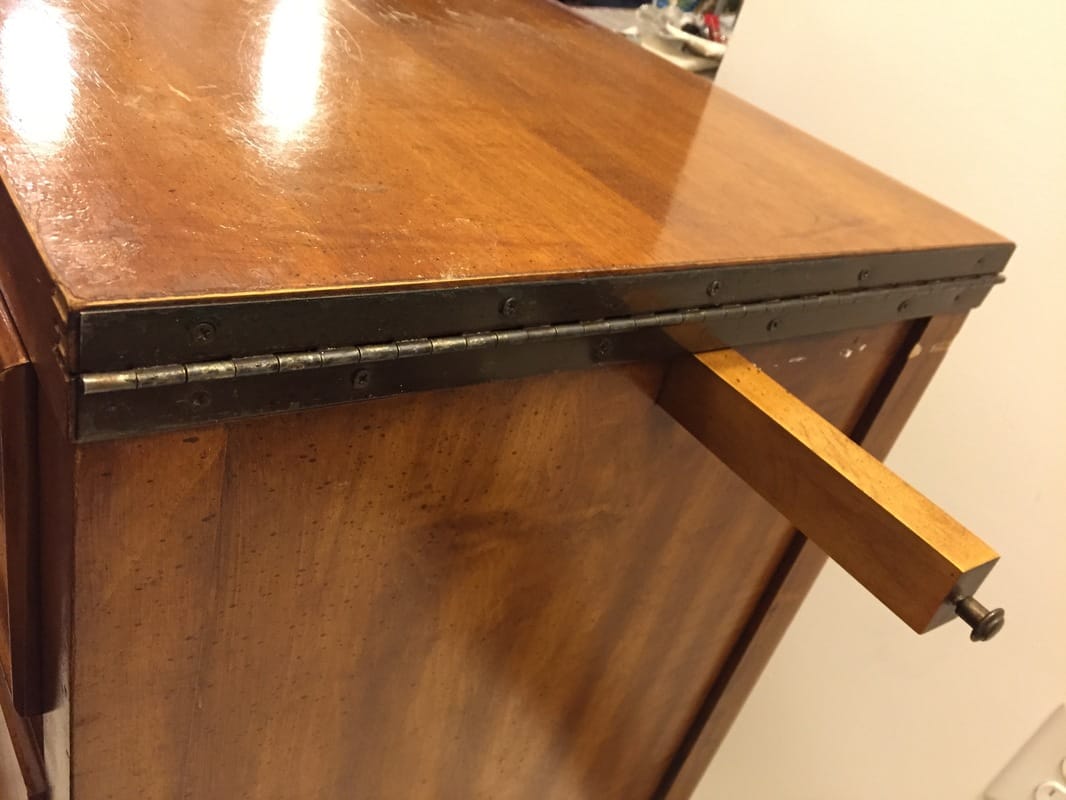
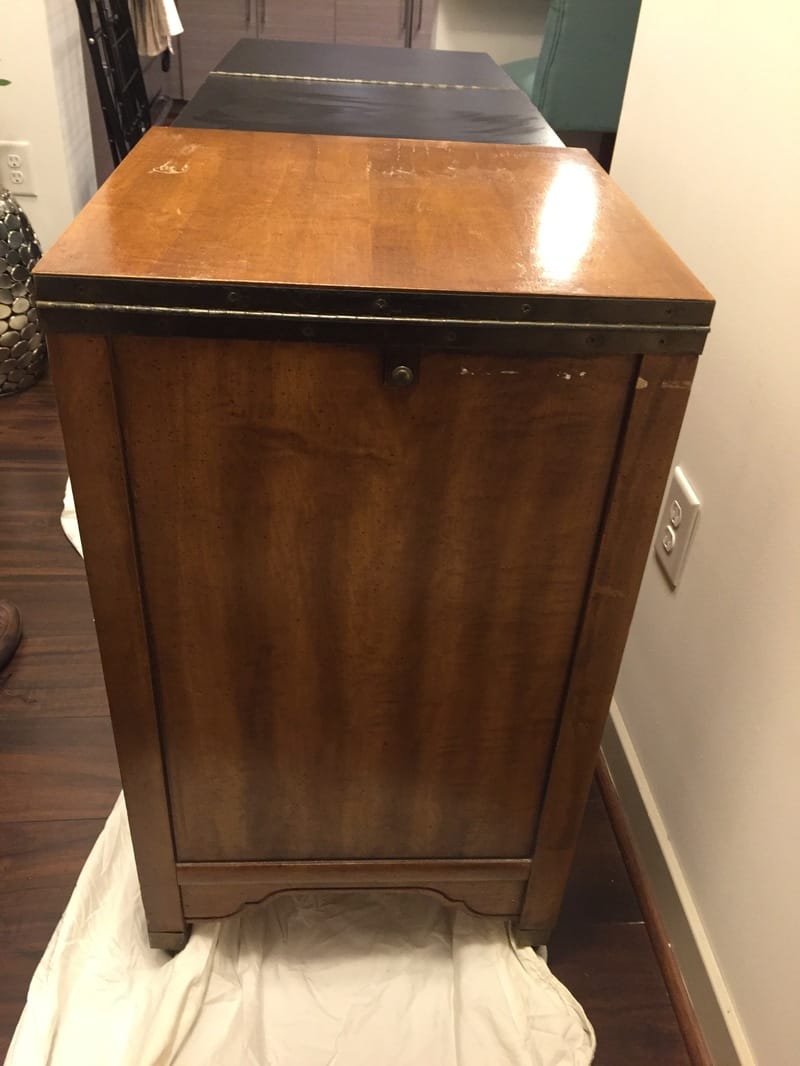
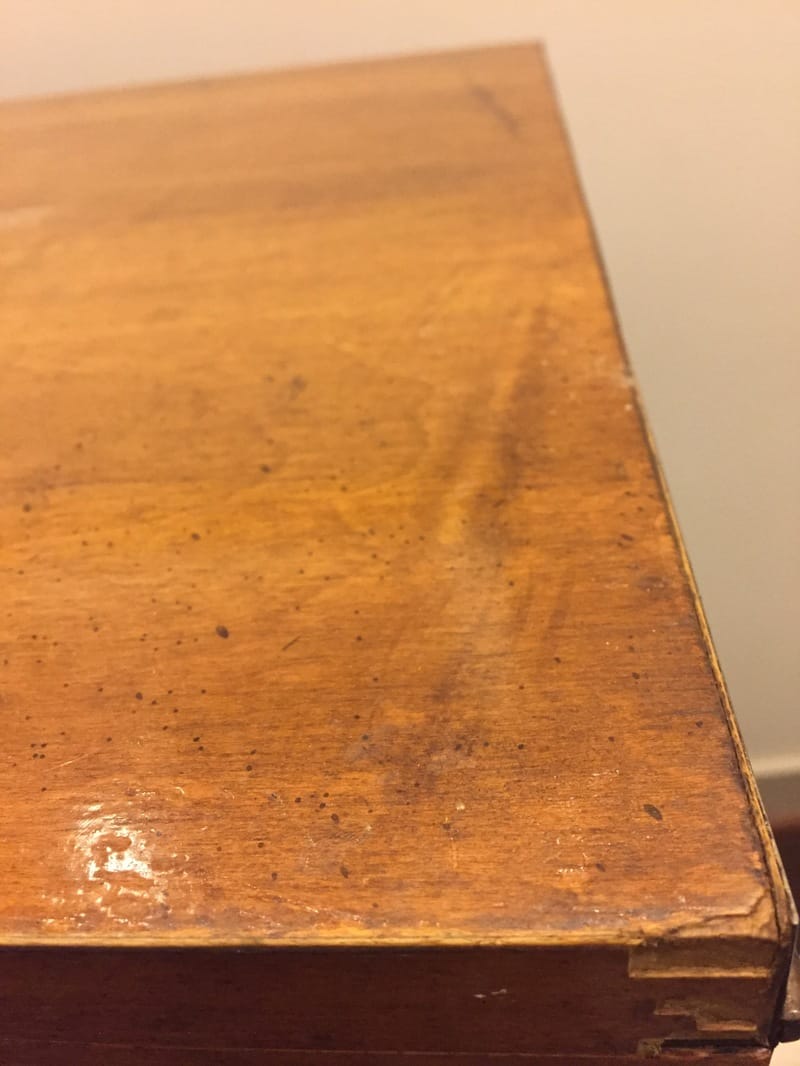
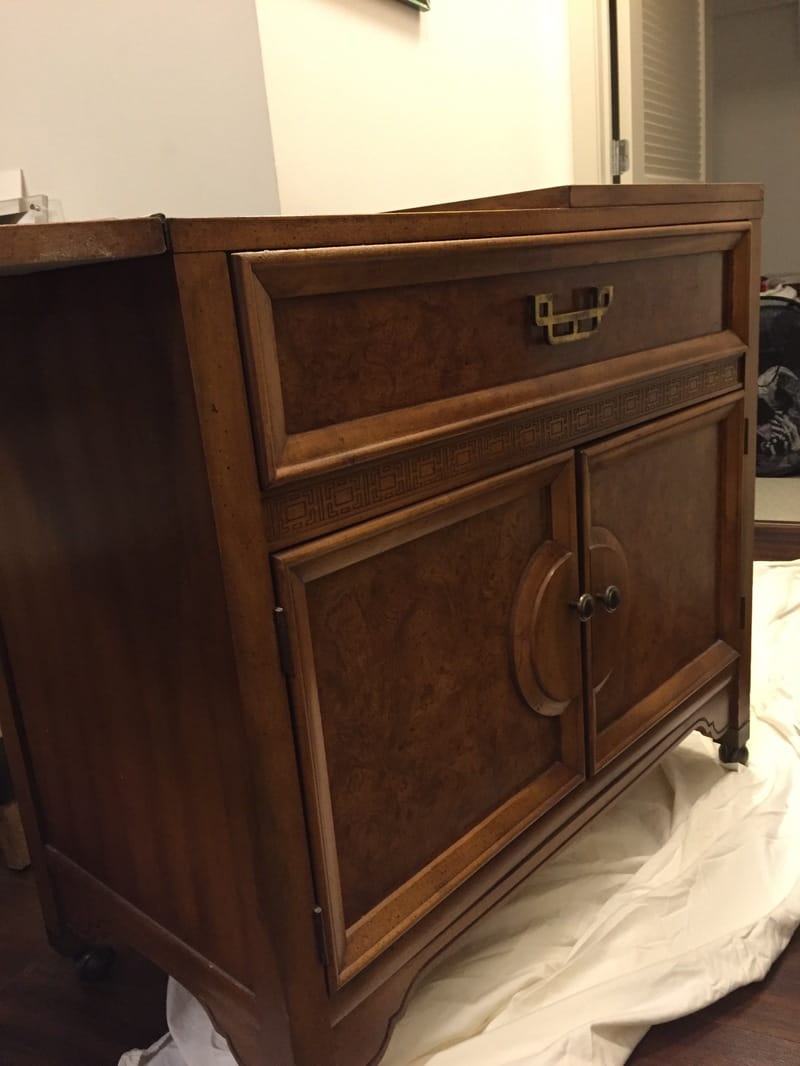
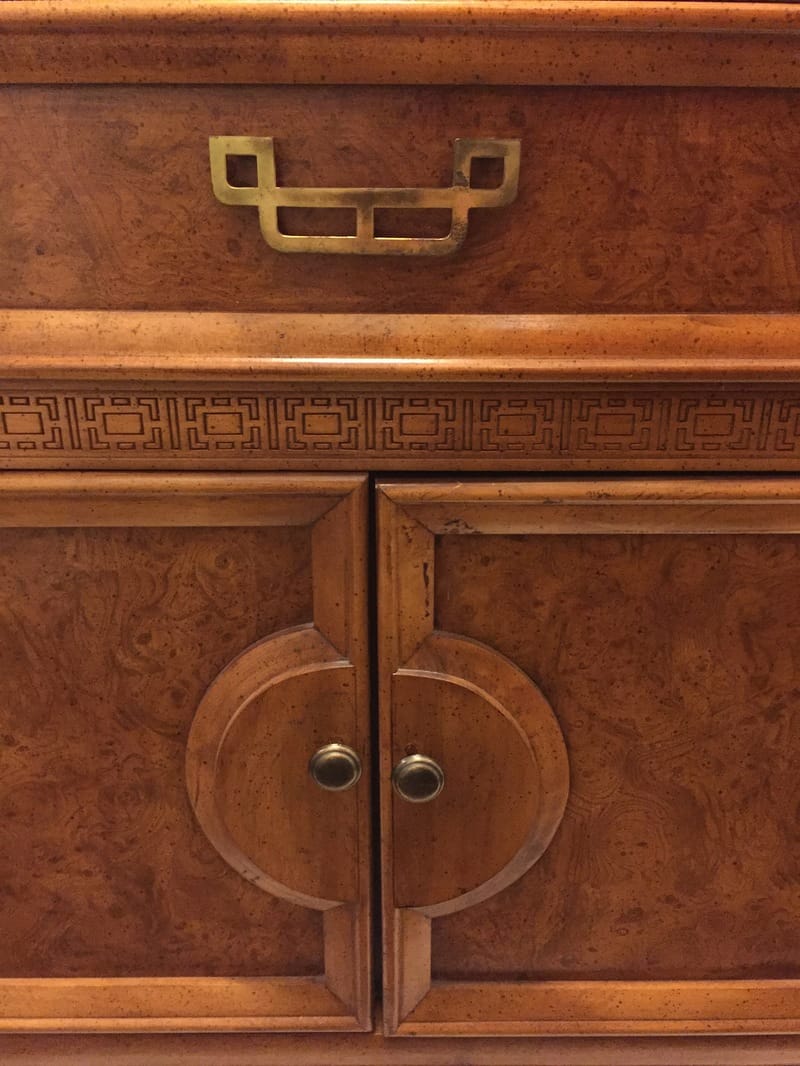
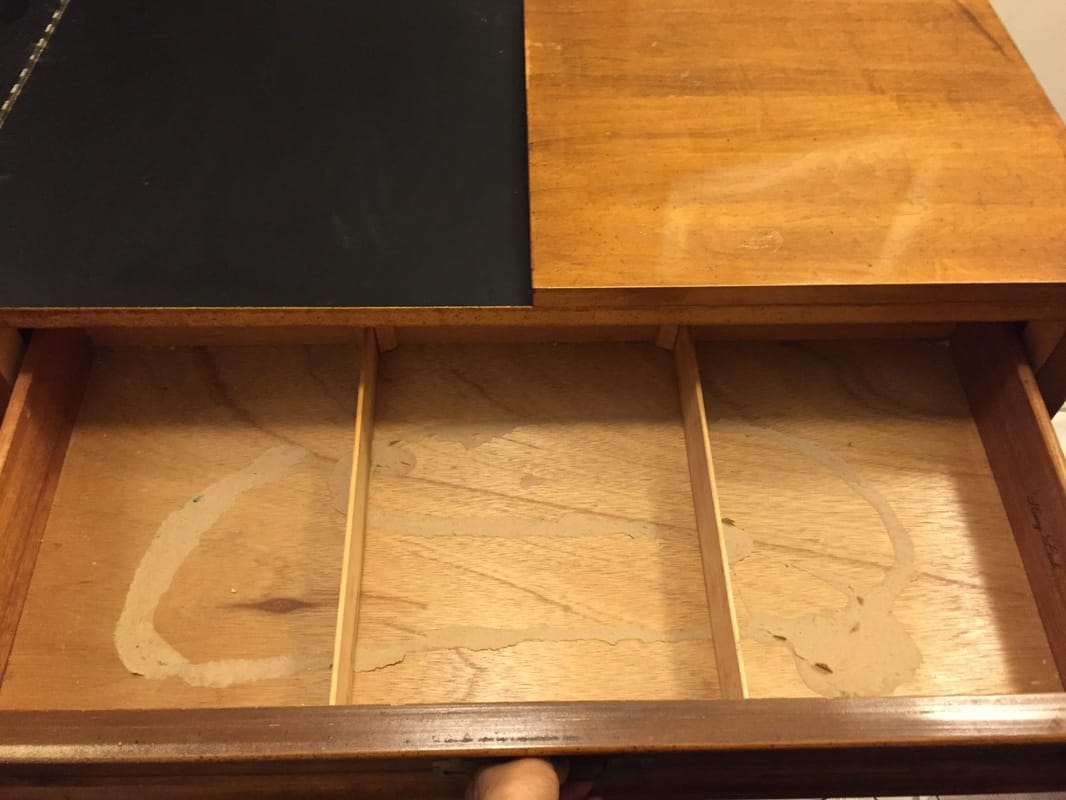
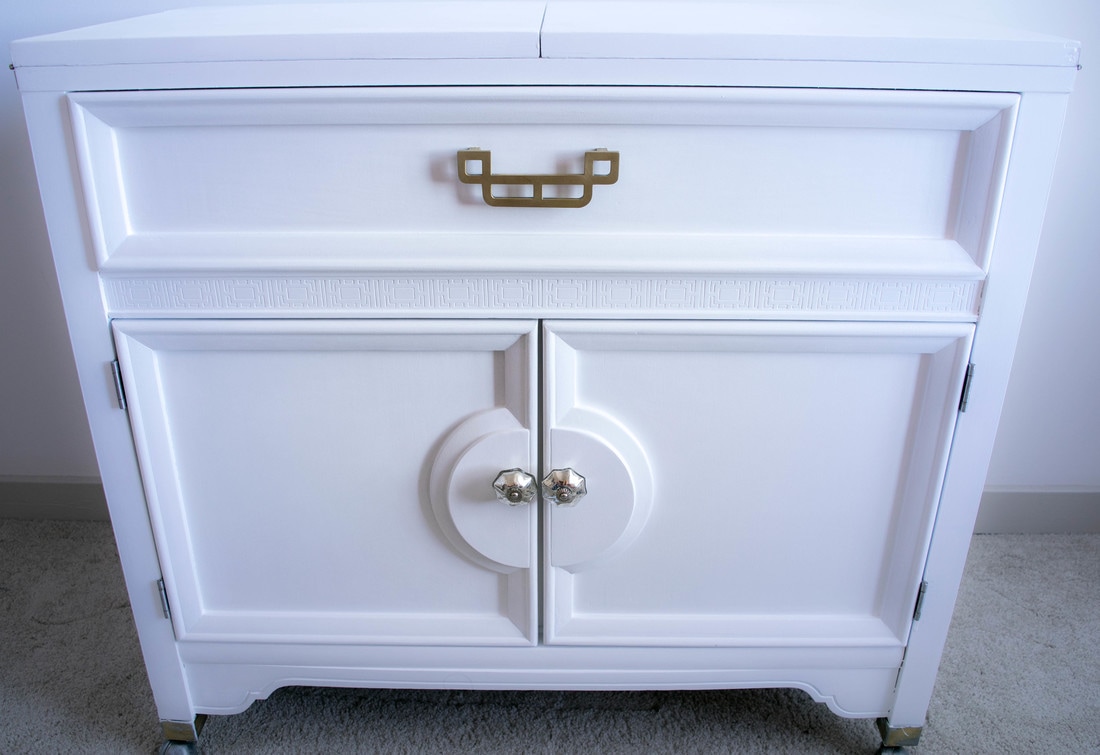
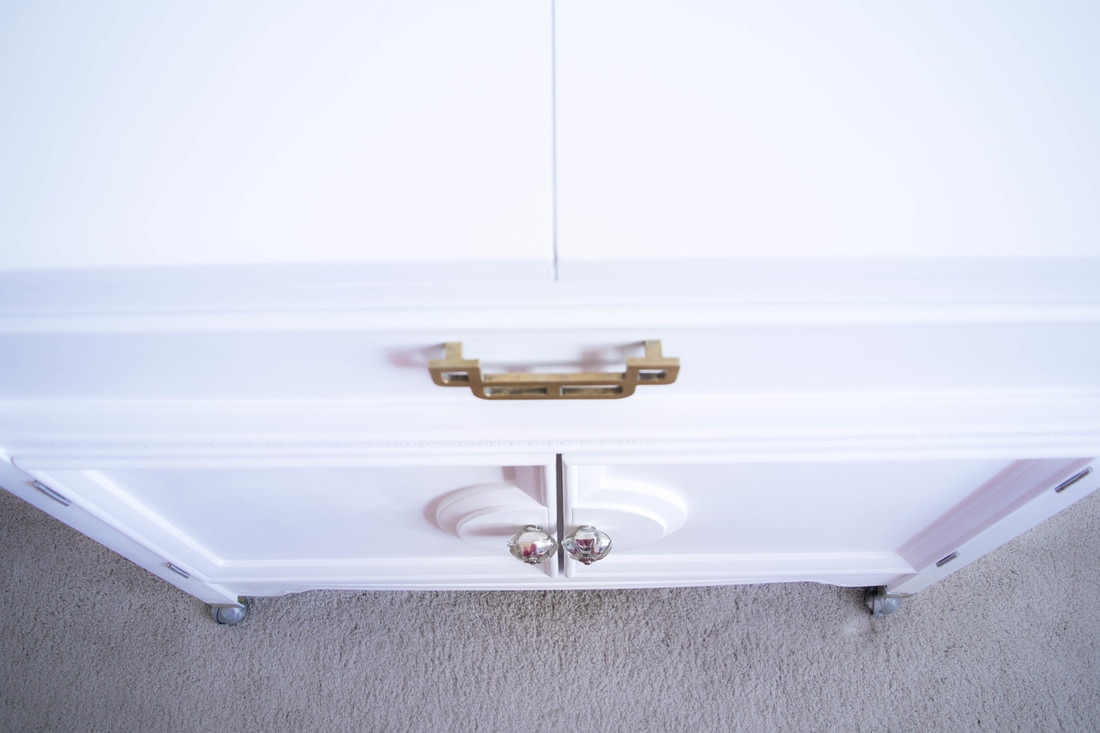
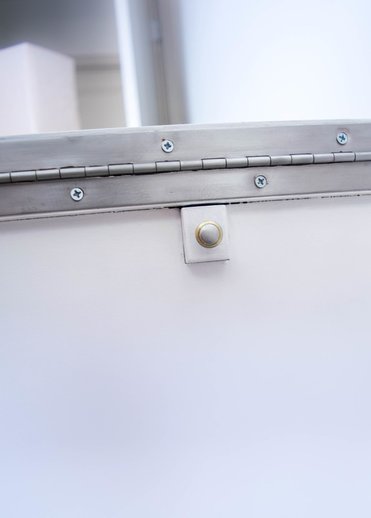
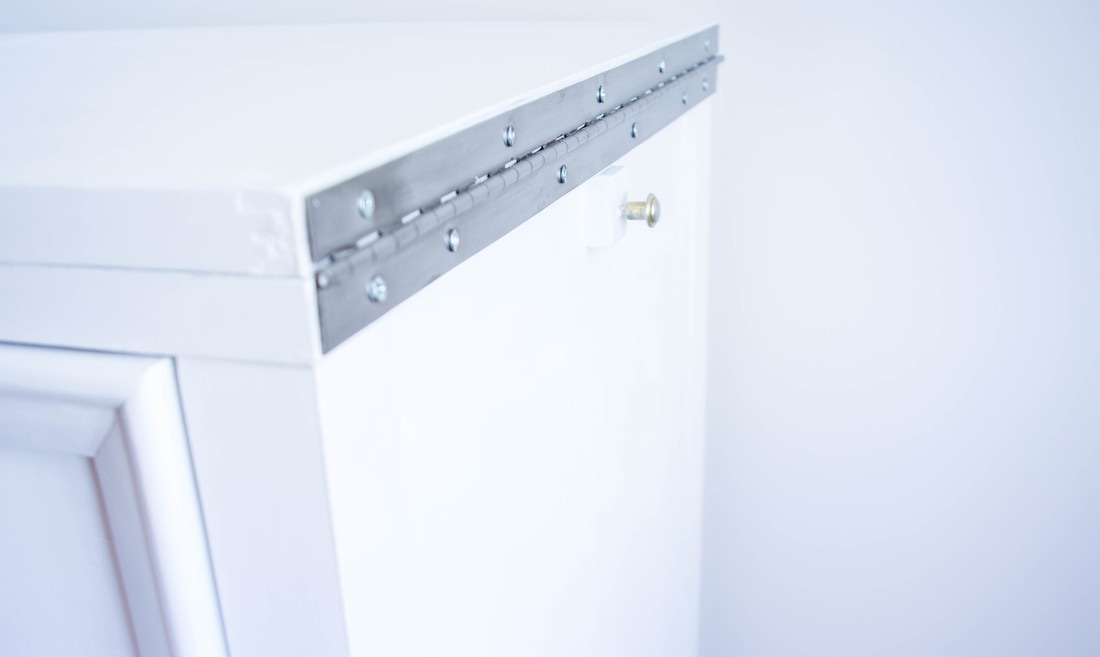
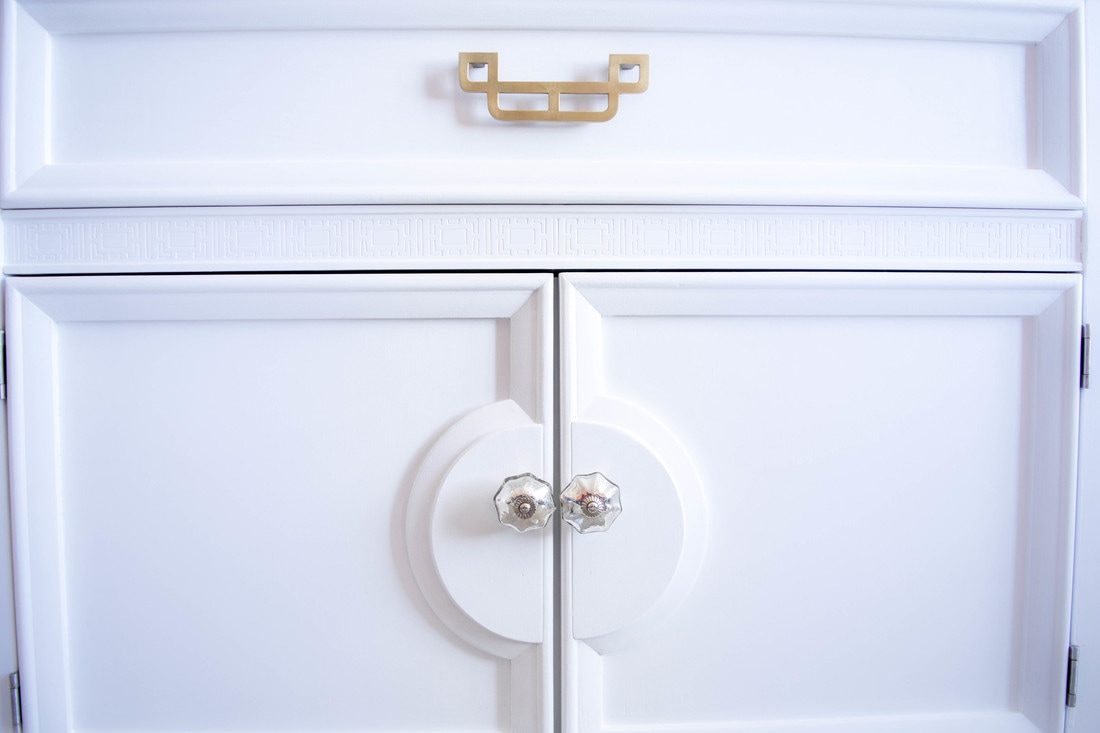
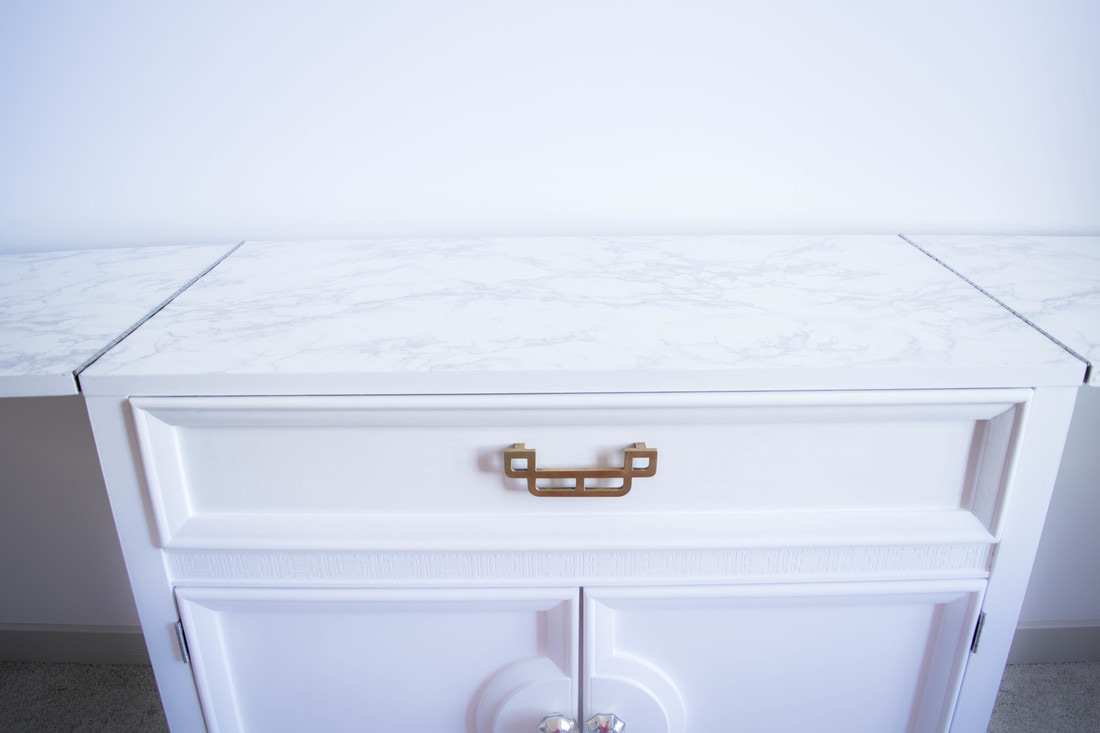
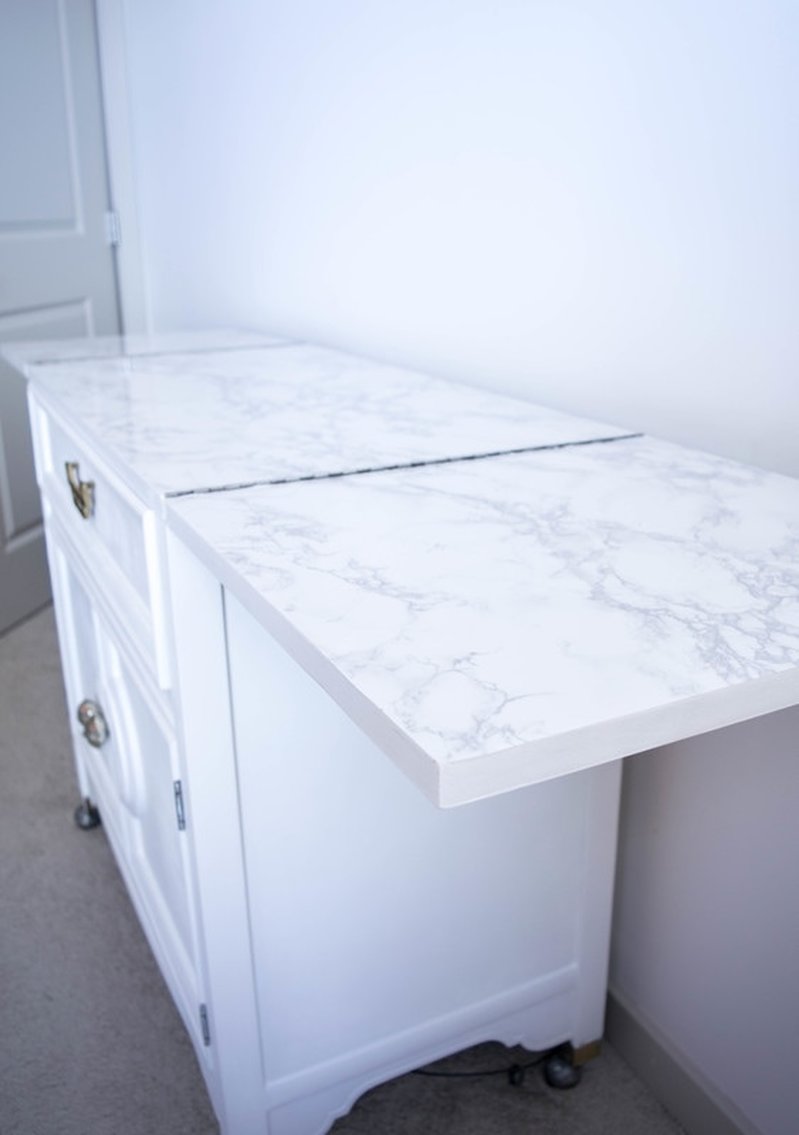
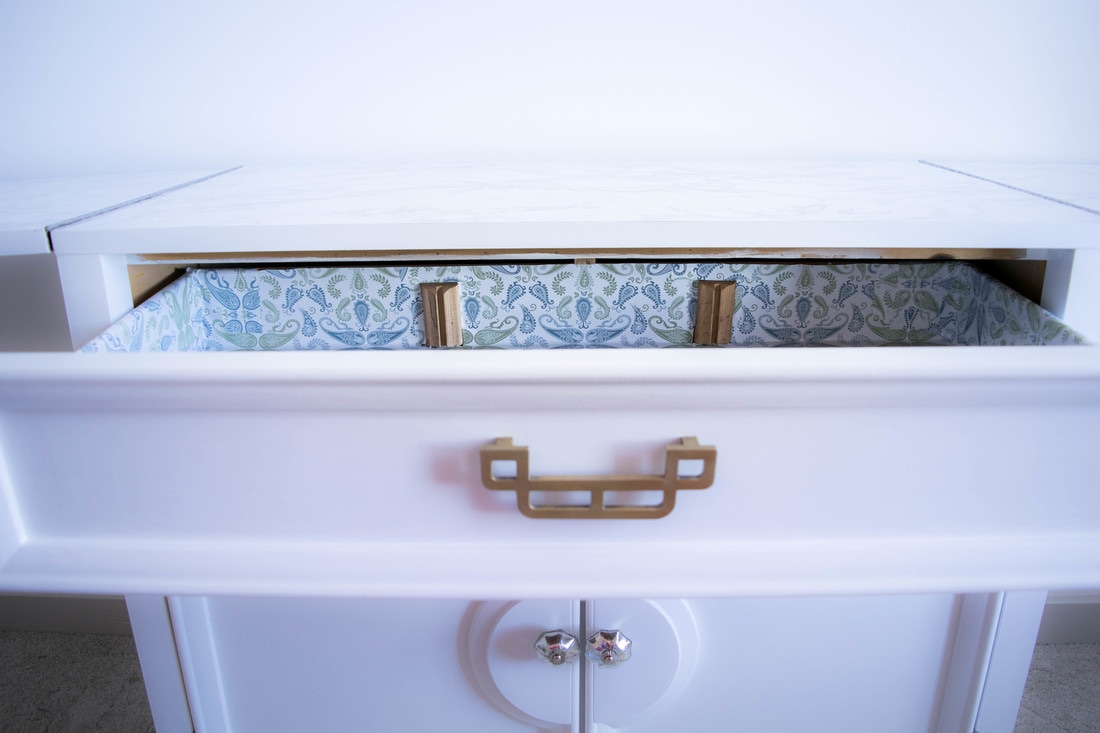
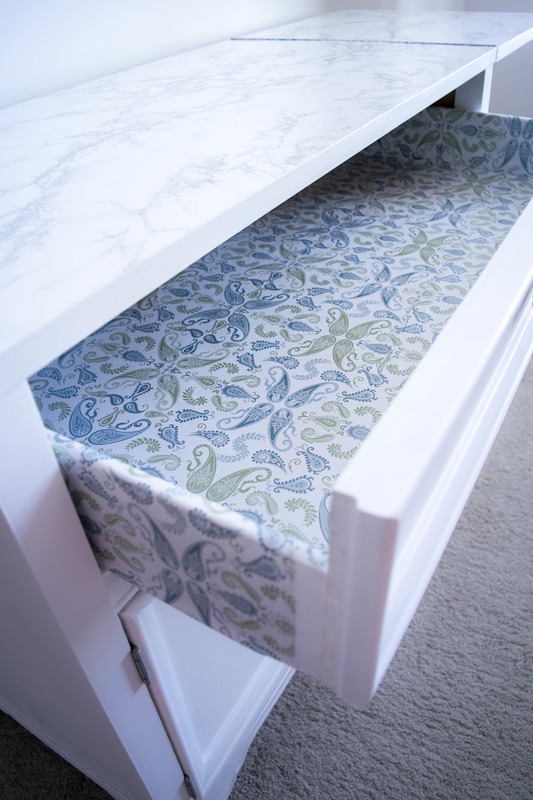
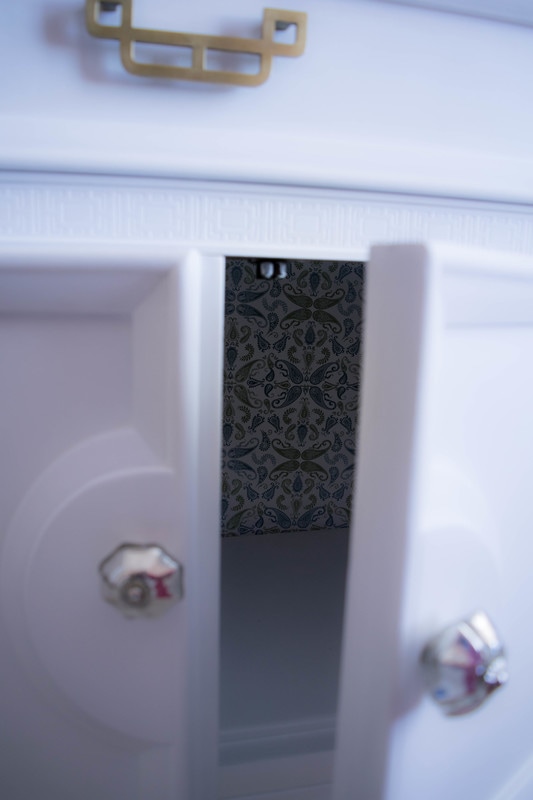
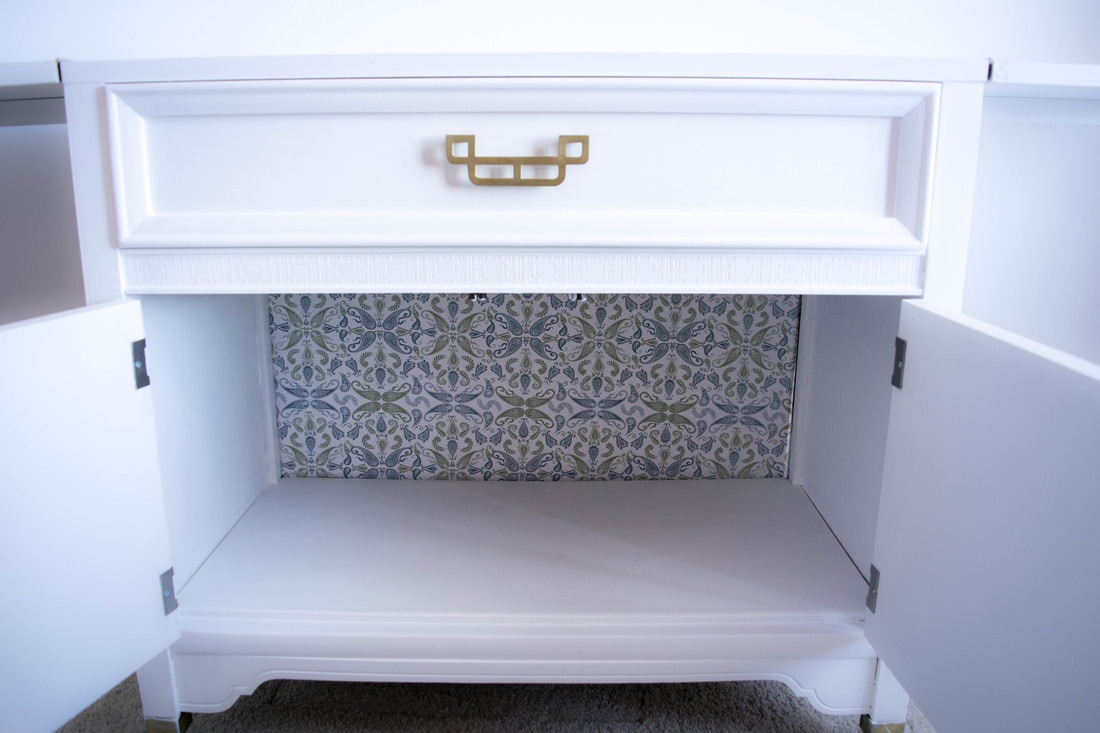
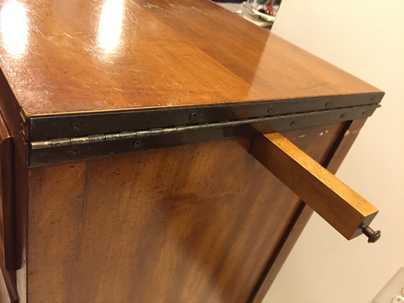
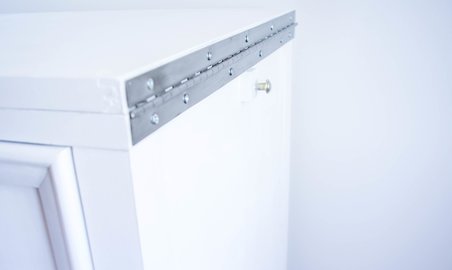
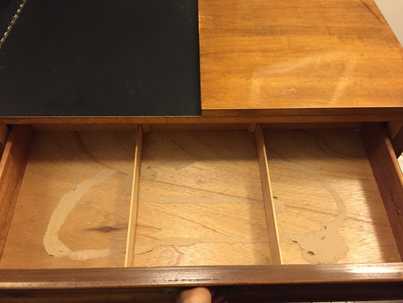
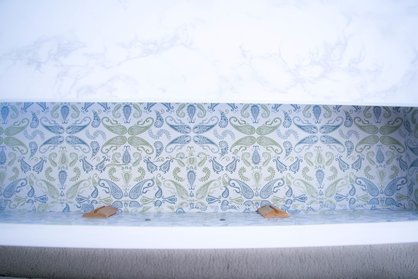
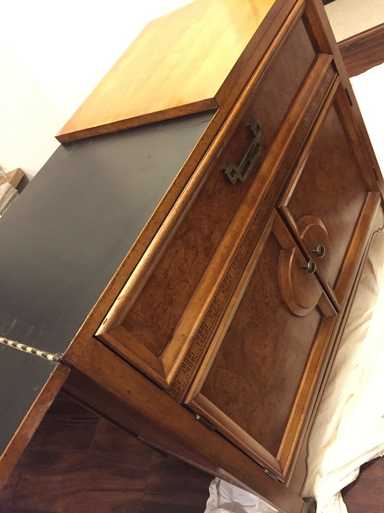
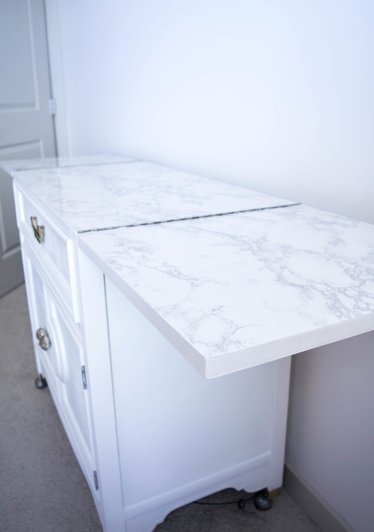
Traditional to Modern: Refurbished FurnitureSo you've been looking to start a home project and one piece just happened to catch your eye. Searching for a furniture piece on which one is looking to invest some time and sweat restoring can be challenging, especially when you want something old to add to a collection of new pieces. Considering the style of our place, what's needed is a piece that is not too traditional but antique enough. A face lift could offer that timelessness yet leave a modern feeling. I’d been shopping around for that special piece for quite a while but nothing stood out - things were either too dated, too small, or too large. Then suddenly after six months and a random walk into an antique shop, I came to discover this bar cabinet. I was elated when I spotted it! Struck by its little details and potential, I instantly knew I wanted to take this one home. I knew it’d fit in perfectly once the project was finished. The vision was clear. I took my husband for a second look and when we both agreed that it could be a fun, feasible project to take on, we brought this little beauty home. The beauty lay in the details. It has a fun flip-open extendable top. I loved the minimal geometric detail right under the pull-out drawer. And let’s not forget - it even has wheels! To build on all the beautiful character this piece has, we needed a face-lift that could uphold all of that and then some. So I started the refurbishing work in my apartment. Trial and error taught me a whole lot. Hadn’t realized how quickly and heavily the entire place would be covered with sawdust. The pictures on the walls, the walls itself, the floors, the furniture - everything was covered in dust. Extra work and stress was now added to the project. The dire need for a sander became very apparent very quickly. After much google researching and speaking to the Home Depot associate, it was confirmed that we needed to invest in one. So, I moved on to Plan B, which involved buying the sander and isolating a corner in the apartment into an airtight working station. Little did I know that ventilation would be an issue in this plan and sawdust would still seep through! Seeing no other ways to work on the project in an indoor setting, I redirected to Plan C - relocated the piece to my cousin’s garage where sanding was feasible with more than enough ventilation and room to stretch. However, the plan came with a downside. It meant matching my availability with my cousin’s and allocating extra travel time of forty minutes to work on it. In other words, work can be accomplished on limited days and sanding would take much longer before I can bring it back to the apartment to do the rest of the work on it. With a whole lot of tedious and painful sanding work, brasso clean up, a fresh coat of white primer and paint, a top finishing coat, drawer liners, back lining, and a new set of hardware - the dated piece had now turned unique and nothing short of new! Re-purposed and up-cycled. I hope this will inspire you to start a project of your own, and thank you so much for reading! IMAGE Things used in refurbishing the piece:
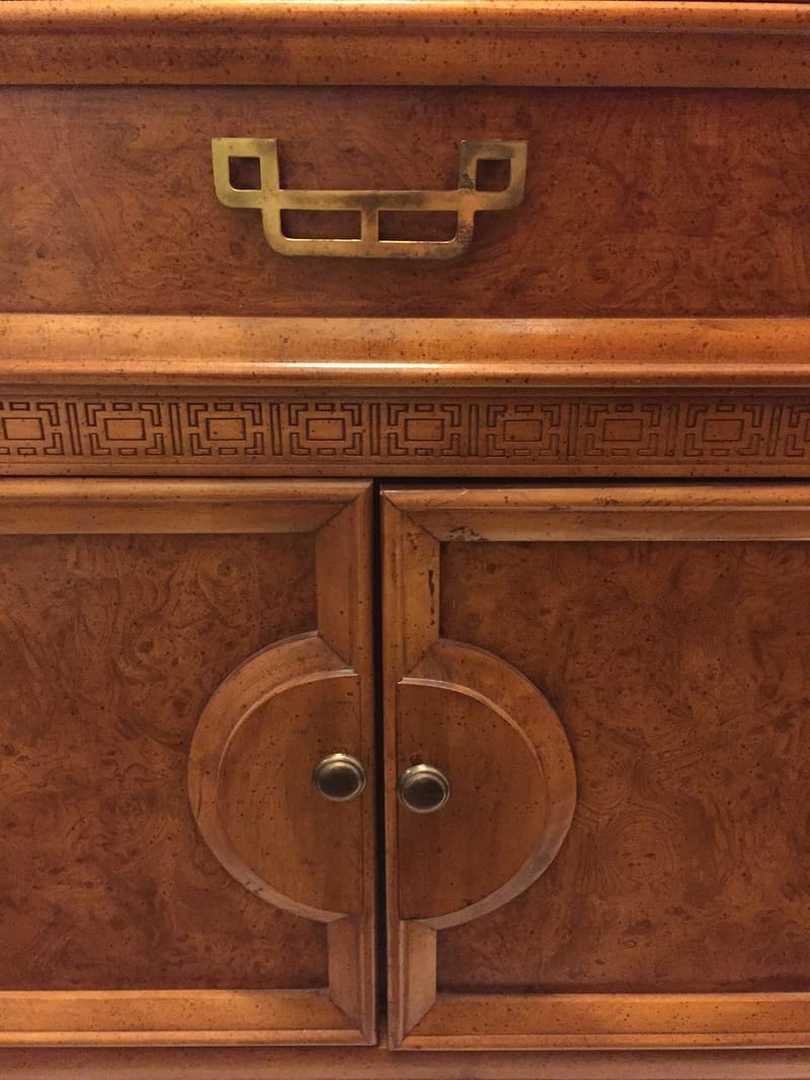
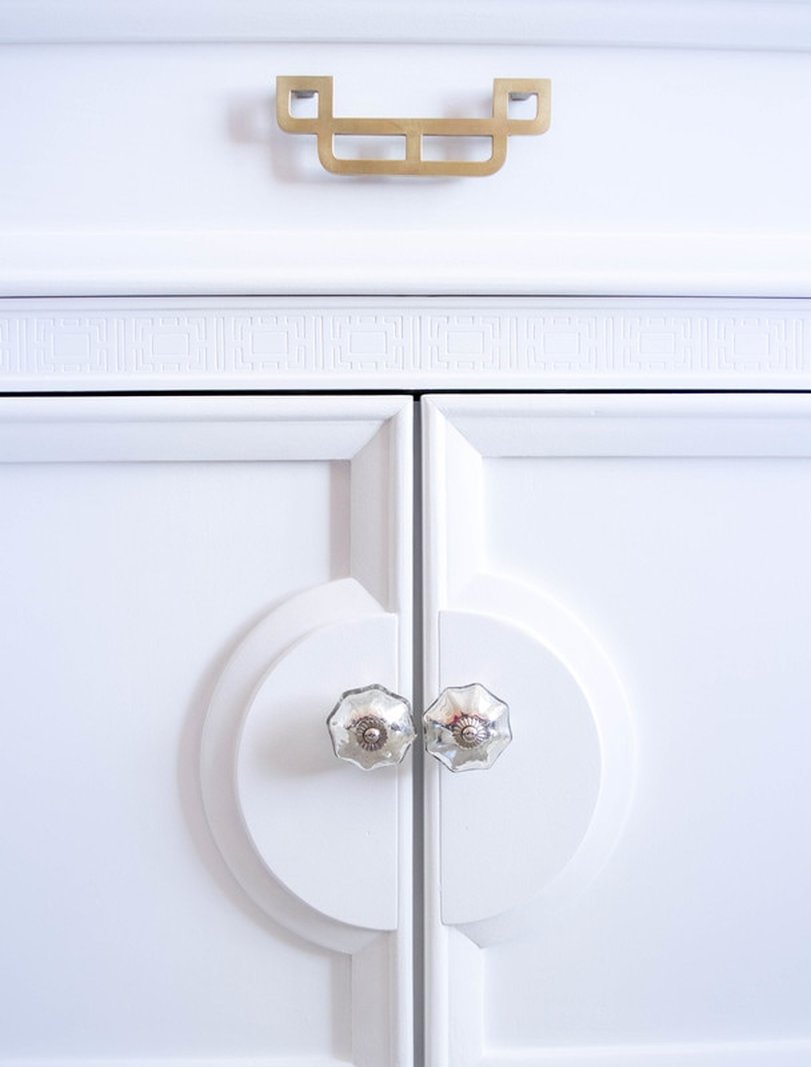
Some BEFORE and AFTER:
0 Comments
Leave a Reply. |
|
|
Wedding & Event Planner serving Virginia, Maryland, and Washington, DC. Copyright © Nusfolio LLC Events and Design 2023 All Rights Reserved |
Let's Connect! |
